If the sound of water hissing on the toilet is always making you wonder what the problem is with your toilet, then you may have a faulty flush valve. The good news is you do not have to put up with the running toilet problem for fear that you might dig deep into your pockets to fix it. You do not have to be a qualified plumber; all you need is a few tools.
With this step by step guide, you will learn how to change the toilet flush valve and avoid the need to buy a new toilet altogether.
How To Change Toilet Flush Valve
Table of Contents
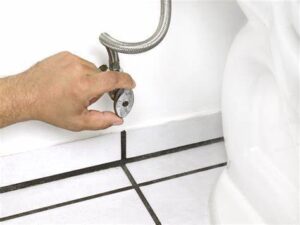
Step 1: Shut off the Water Supply to the Toilet
Remove the lid of the tank and shut off the water supply by turning the shut-off valve in a clockwise direction. You can find the knob on the side of the tank or the wall behind the toilet.
If the knob is so tight that you can’t turn it off by hand, then you can use a wrench. If water still runs into the tank, then you can shut it from the main supply.
Don’t Miss To Read: Best Toilet Flappers – Improve Your Toilet Tank Performance
Step 2: Drain the Tank
Flush the toilet to remove any water since it will not refill now that you have turned off the water supply. If any water is left, use a dry sponge to suck it up completely.
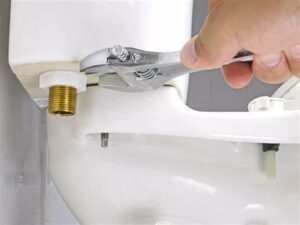
Step 3: Remove the Tank Bolts and Tank
Usually, wing bolts hold the tank onto the bowl. You can remove them by hand, but if they are too tight, then some pliers will work. Still, if they will not come out, you can use a hacksaw to cut them off then lift the tank carefully. Set it aside in a safe place.
In the case that your toilet has another set of nuts holding the mounting bolts ante the tank, you will need to remove them. Unscrew the nuts and remove the bolts.
However, if the bolts are so old that they have rust on them getting them out may only be possible by cutting through them with a hacksaw. You should be careful not to force the bolts out because then your tank will break or crack.
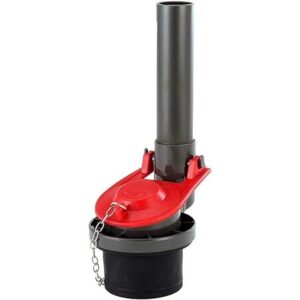
Step 4: Remove the Old Flush Valve
Remove the flush valve nut using pliers. Pull out the flush valve from the top of the toilet tank and clean the tank.
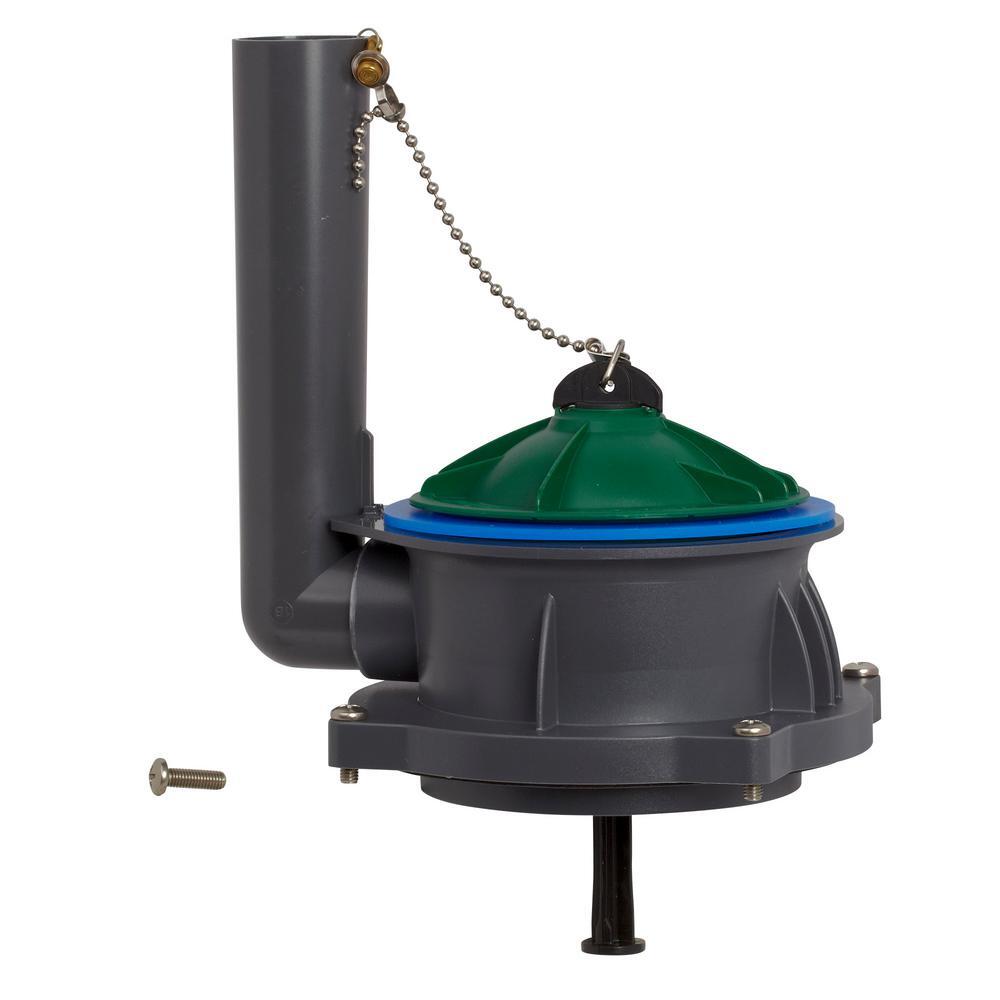
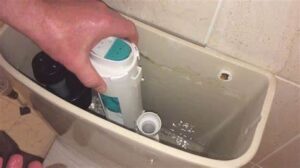
Step 5: Install a New Flush Valve
Follow the manufacturer’s directions to insert the new valve ensuring that you insert it in such a way that it faces the overflow pipe. Once you get it at the right angle, hold the valve and tighten the flush valve screws using a wrench or pliers.
Step 6: Install Tank Bolts
Install tank bolts by sandwiching the porcelain on each bolt with rubber washers. Tighten the caps but do not over tighten otherwise you will crack the porcelain.
Step 7: Replace the Tank onto the Bowl
Align the bolts with the bowl’s holes and replace the tank by installing the wing nuts and washers. Tighten the nuts by hand.
Don’t Forget To Read: The Best Toilet Safety Rails – Top 10 Models Reviewed!
Sep 8: Reconnect Water Supply
Turn on the water supply then adjust the flush valve until water is at the recommended level and the overflow is an inch above that line. Flush the toilet severally to check for any leaks and tighten the nuts if need be.
Final Verdict
We’re all trying to save every penny for the hope of a better future. You can save a few bucks by learning how to do a few things on your own and avoid the cost of hiring plumbers or any other technicians.
Besides, the thrill of knowing that you did something without outside help will have you patting yourself on the back for doing an excellent job.
So, stop listening to the running water and use these detailed instructions to fix that faulty flush valve. They say preventing is better than curing; so why not avoid the hefty water bill and the expense of a new toilet.